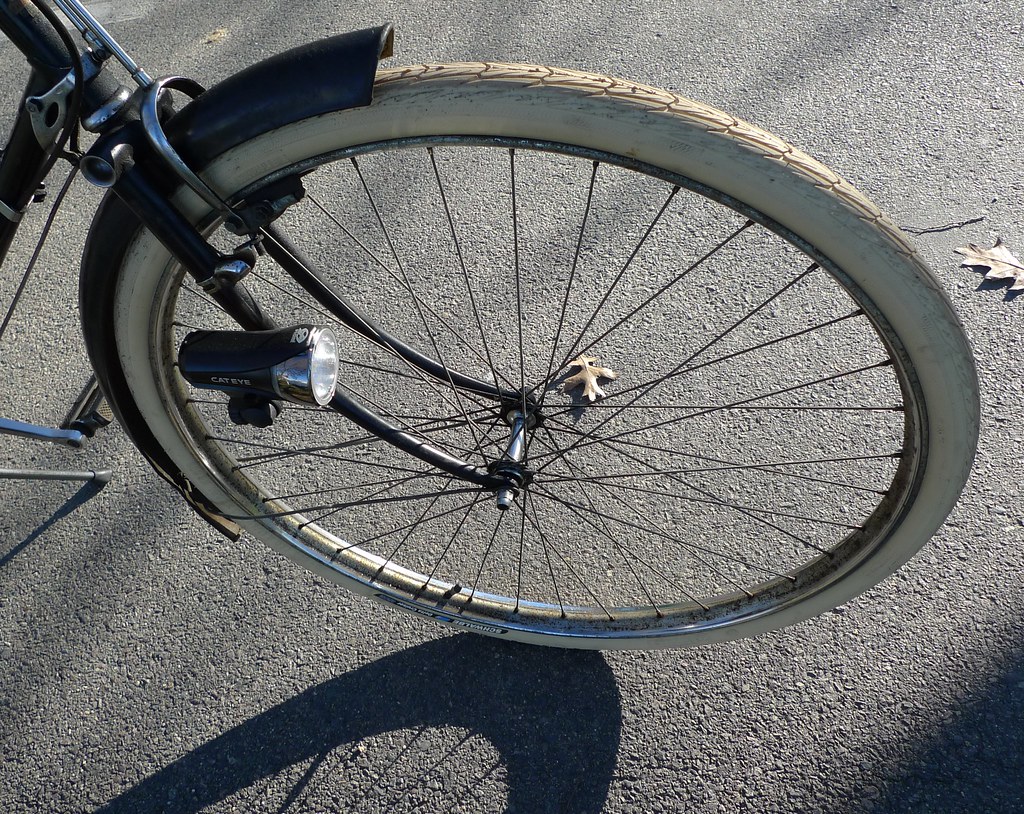
When it comes to bicycle lighting, our primary objective is to be extremely visible. On bicycles without a dynamo, this means LED lighting. One downside to LED lights, is that most of what's currently on the market looks very modern and "techy".We try to find LED lights that are both the brightest and the least in conflict with the classic looks of our bikes. A good example of that is the set-up on my vintage Raleigh DL-1 (above). I have received some emails asking how those lights are attached, and so I will describe it here.

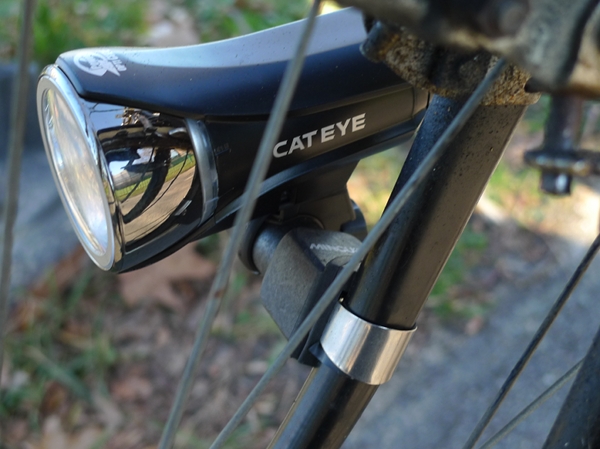
Like all of our LED lights, the lights on this bicycle are by Cateye - a company whose products seem to be consistently good. The headlight is the
Opticube , mounted on the right fork blade. Mounting it in this manner requires 2 supplementary gadgets:
the FlexTight mounting bracket, which comes packaged with the headlight, and the Minoura Besso fork mount, which must be purchased additionally.

The Opticube headlight is sold with a
FlexTight mounting bracket included. This bracket is designed to be wrapped around a handlebar or around a long lug nut on the front wheel, like the one that comes standard on the Pashley and is
pictured here. However, most bicycles - including my DL-1 - do not have sufficiently long lug nuts for this, and so you will need either a lug nut extender or a special mount that attaches to the fork blade like a branch, around which the
FlexTight bracket can be wrapped. The mount we like to use for this is the
Minoura Besso, priced in the $5-10 range.
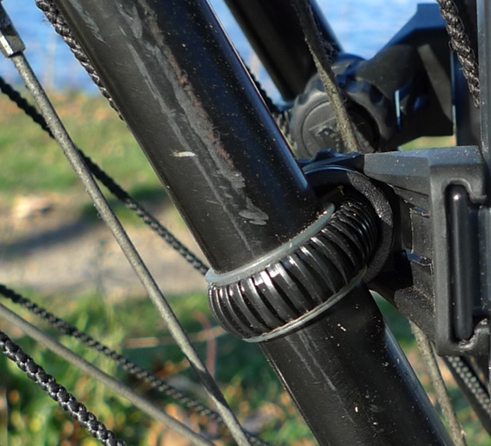
Here is another view of this setup. You can see how the Minoura Besso mount is attached to the fork blade, and the
Opticube headlight is then attached to it with the
FlexTight bracket.

Yet another view from the back. I should note that some are against attaching a headlight to the fork blade, based on the idea that it can slip down and fall into the spokes. Personally, I think that this really depends on your attachment method. If you use a proper mount and attach it tightly, it seems extremely stable and not in the least prone to slippage. If you've had a bad experience with this method, please let me know; so far I have not heard of any.

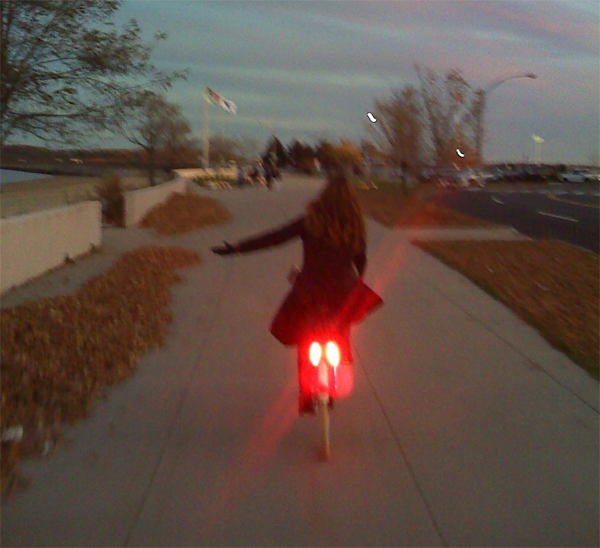
This is what the headlight looks like in motion, "in the wild". From a short distance it actually resembles a vintage light, and it certainly comes across that way in pictures like
these. Of course, up close you can tell that it is modern, but the design is nonetheless one of the most elegant ones available, as far as modern bike lights go.
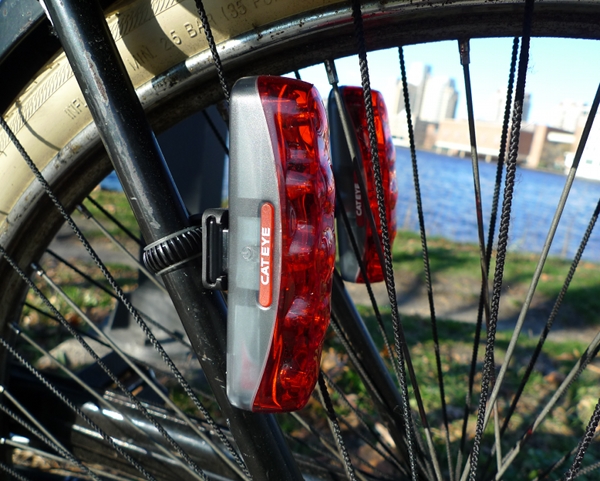
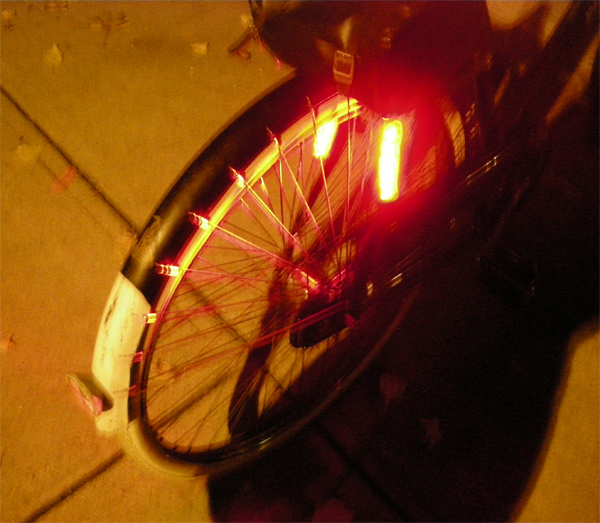
For tail lights, we use two
Cateye TL-LD610 lights, attaching one to each rear stay
in the same way as on our Pashleys.
The diameter of the rear stays is usually not large enough to fit these lights, but they are sold with plastic liners to expand the stay diameter.
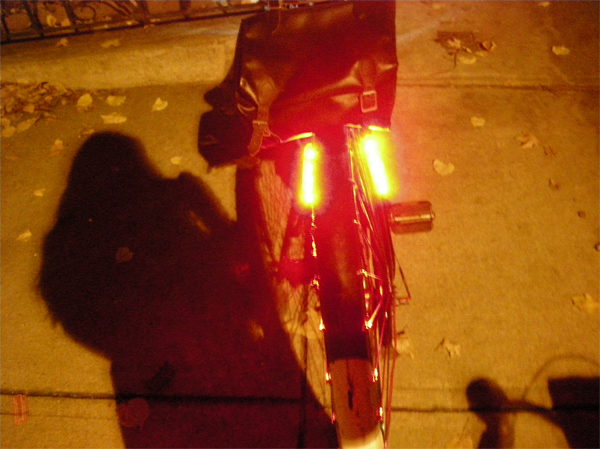
Using these two light strips on the rear stays is the nicest tail light setup we can think of. Not only does it make the bicycle highly visible in traffic, but it also gives the cars a good feel for its width - which can be very important in the dark.
And as far as aesthetics go, attaching the lights along the stays creates a very natural, unobtrusive look that does not conflict with any part of the bicycle's design.
My descriptions make it seem like the lights - especially the headlight - are a pain to attach, and I have to admit they kind of are. But you only need to do it once, and in the end it is worth it: Top of the line illumination, maximum safety, and classic looks will be your rewards.


.jpg)


0 comments:
Post a Comment